
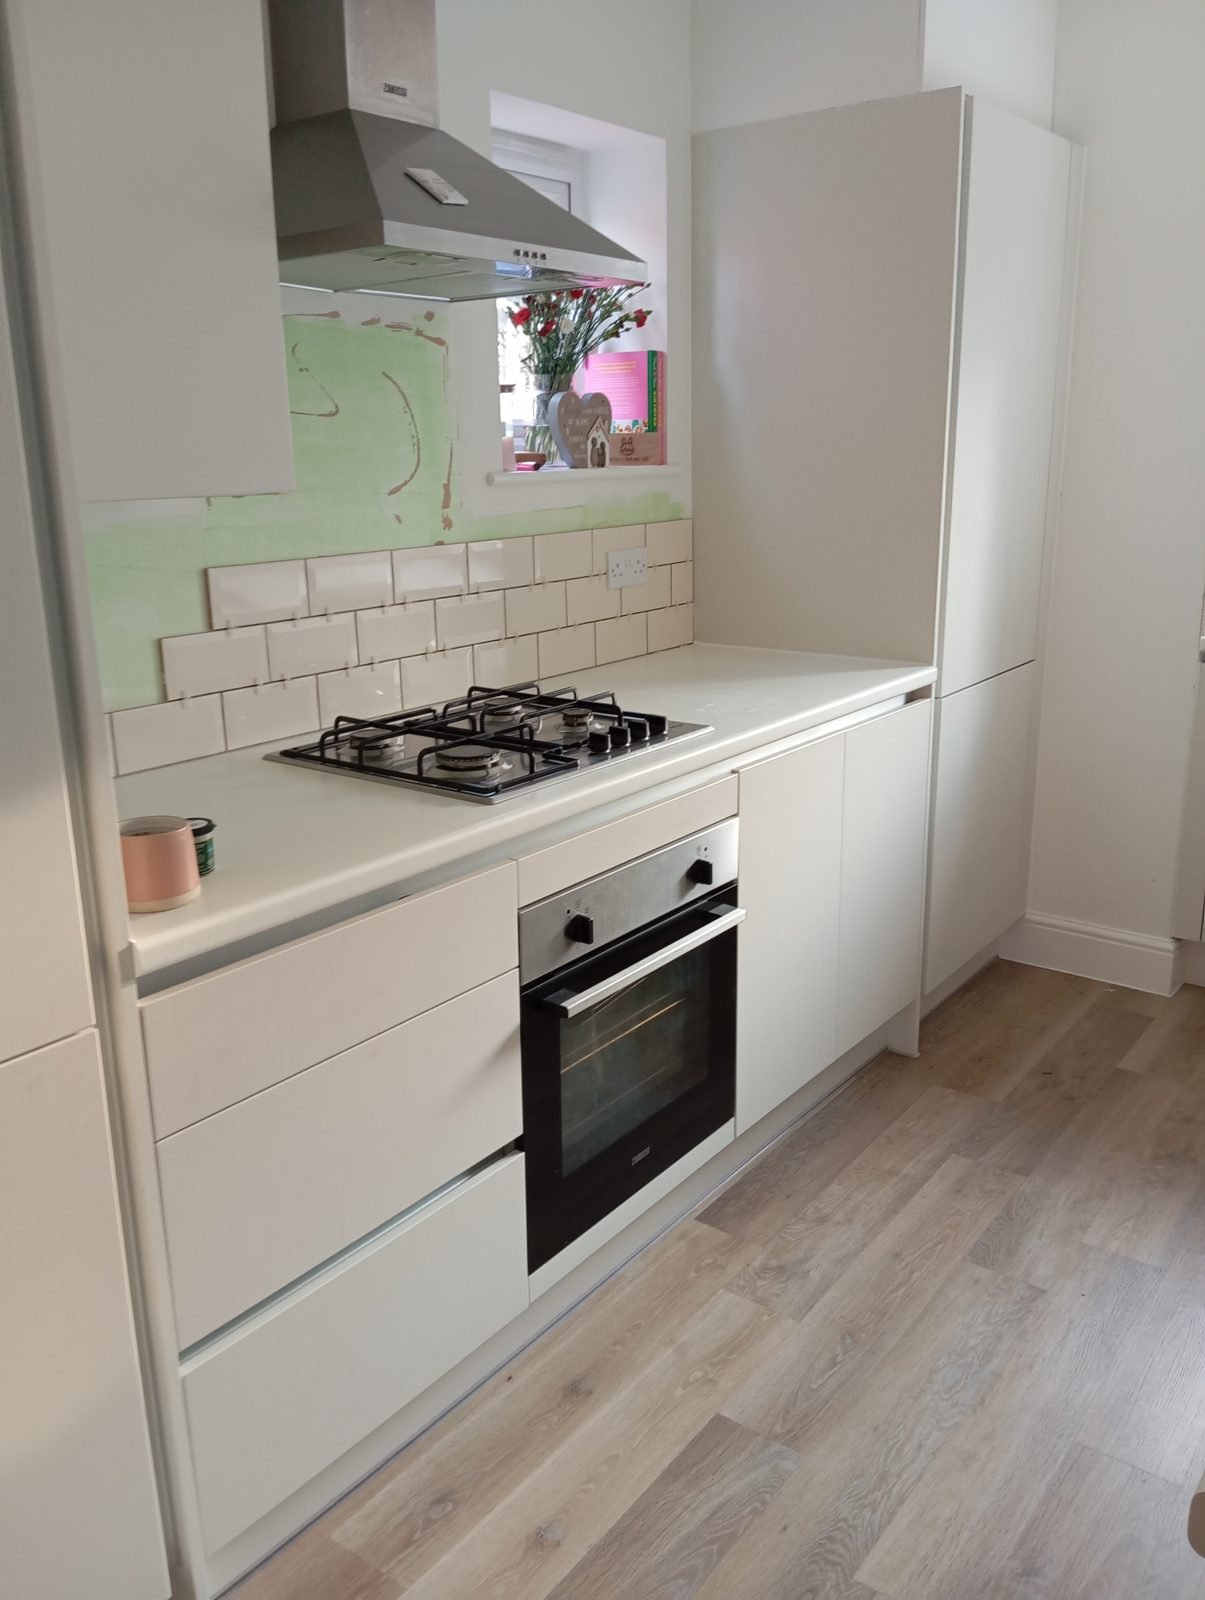
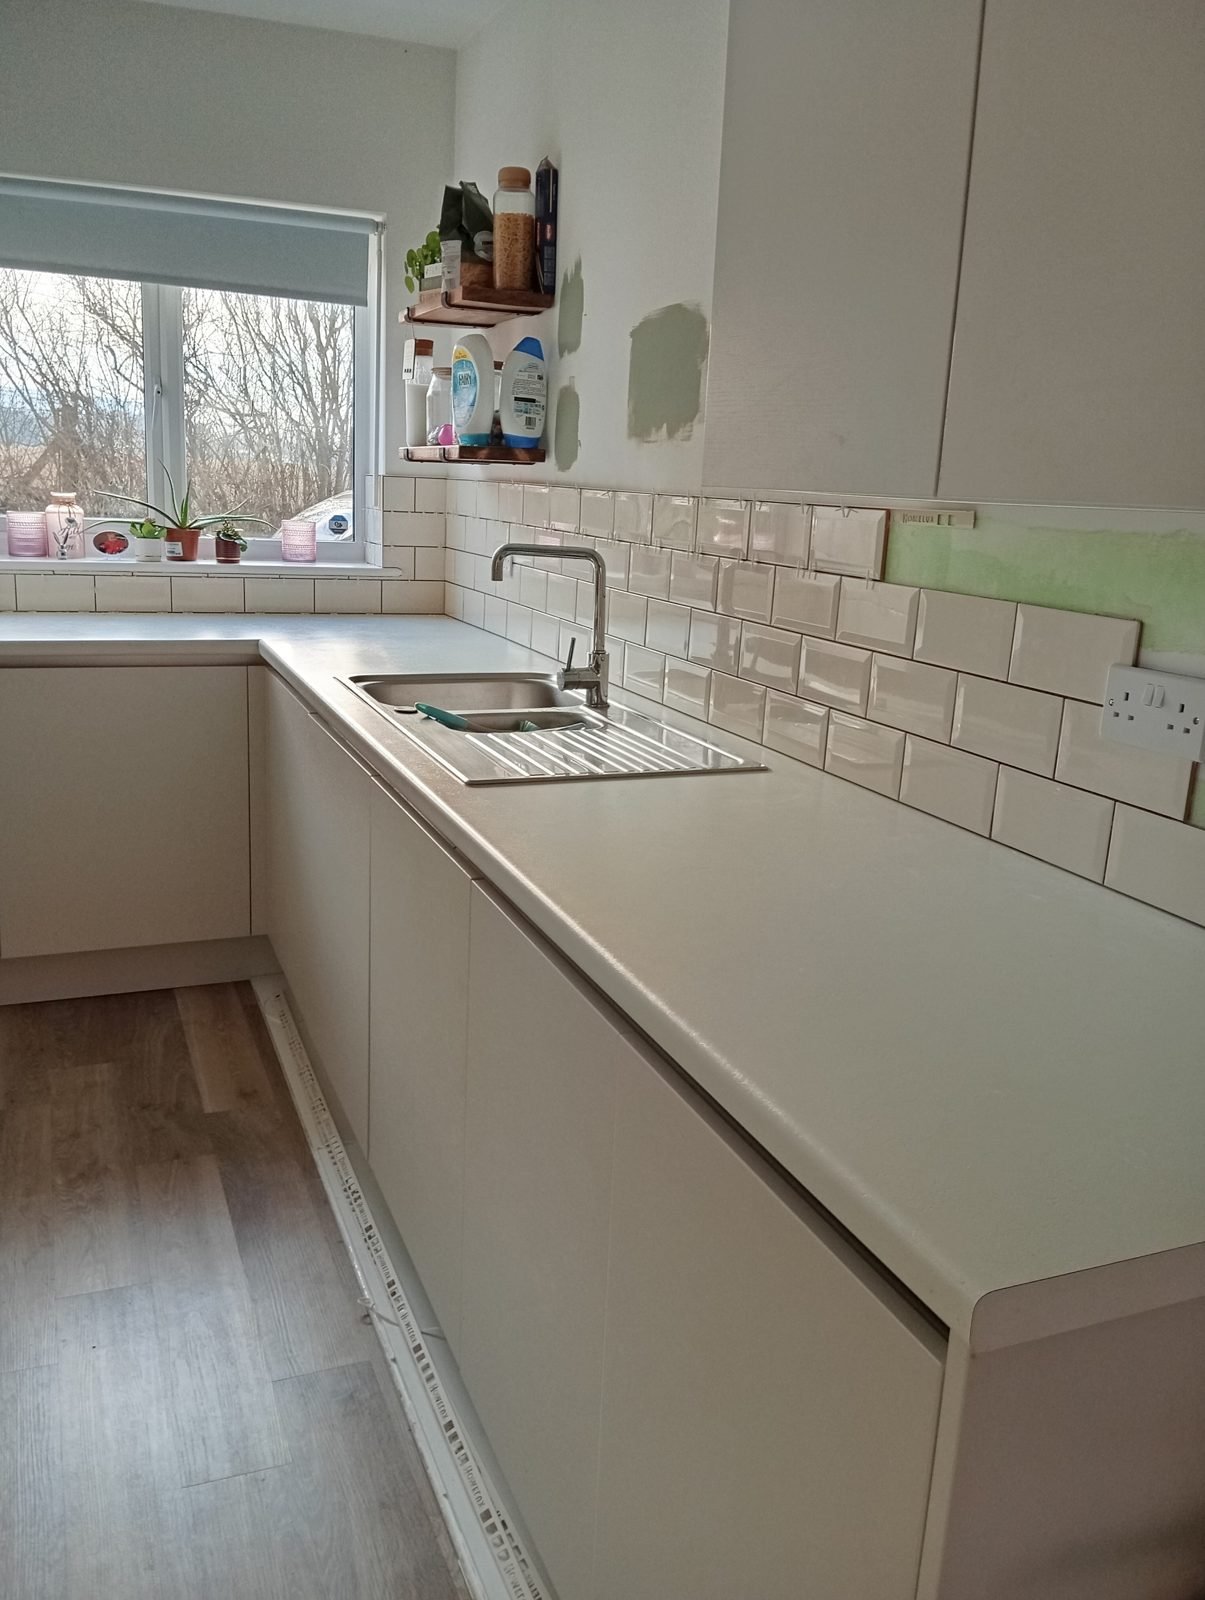
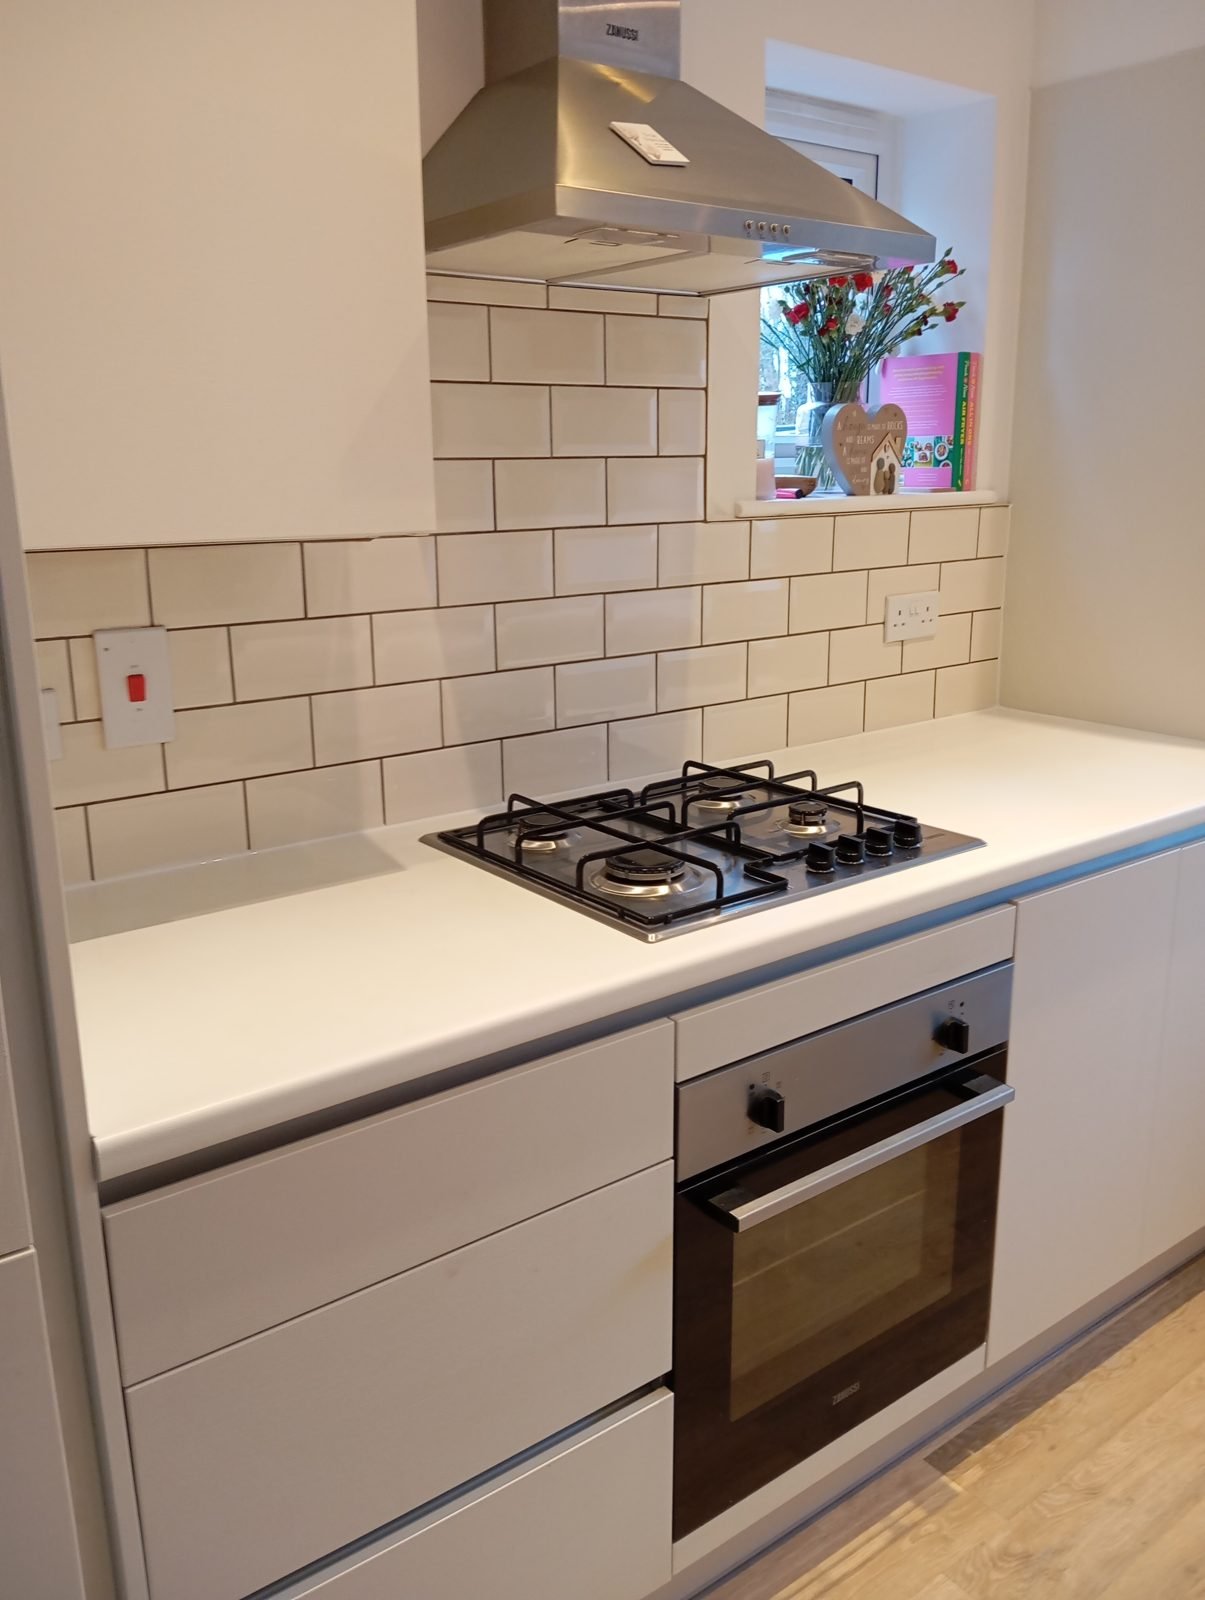
White bevelled metro tiles are about as classic as kitchen splashbacks get. They suit almost any kitchen, they’re easy to keep clean, and with a contrasting grout line they look sharp without shouting about it. This one covered the hob wall and the full run along the sink and window.
Before
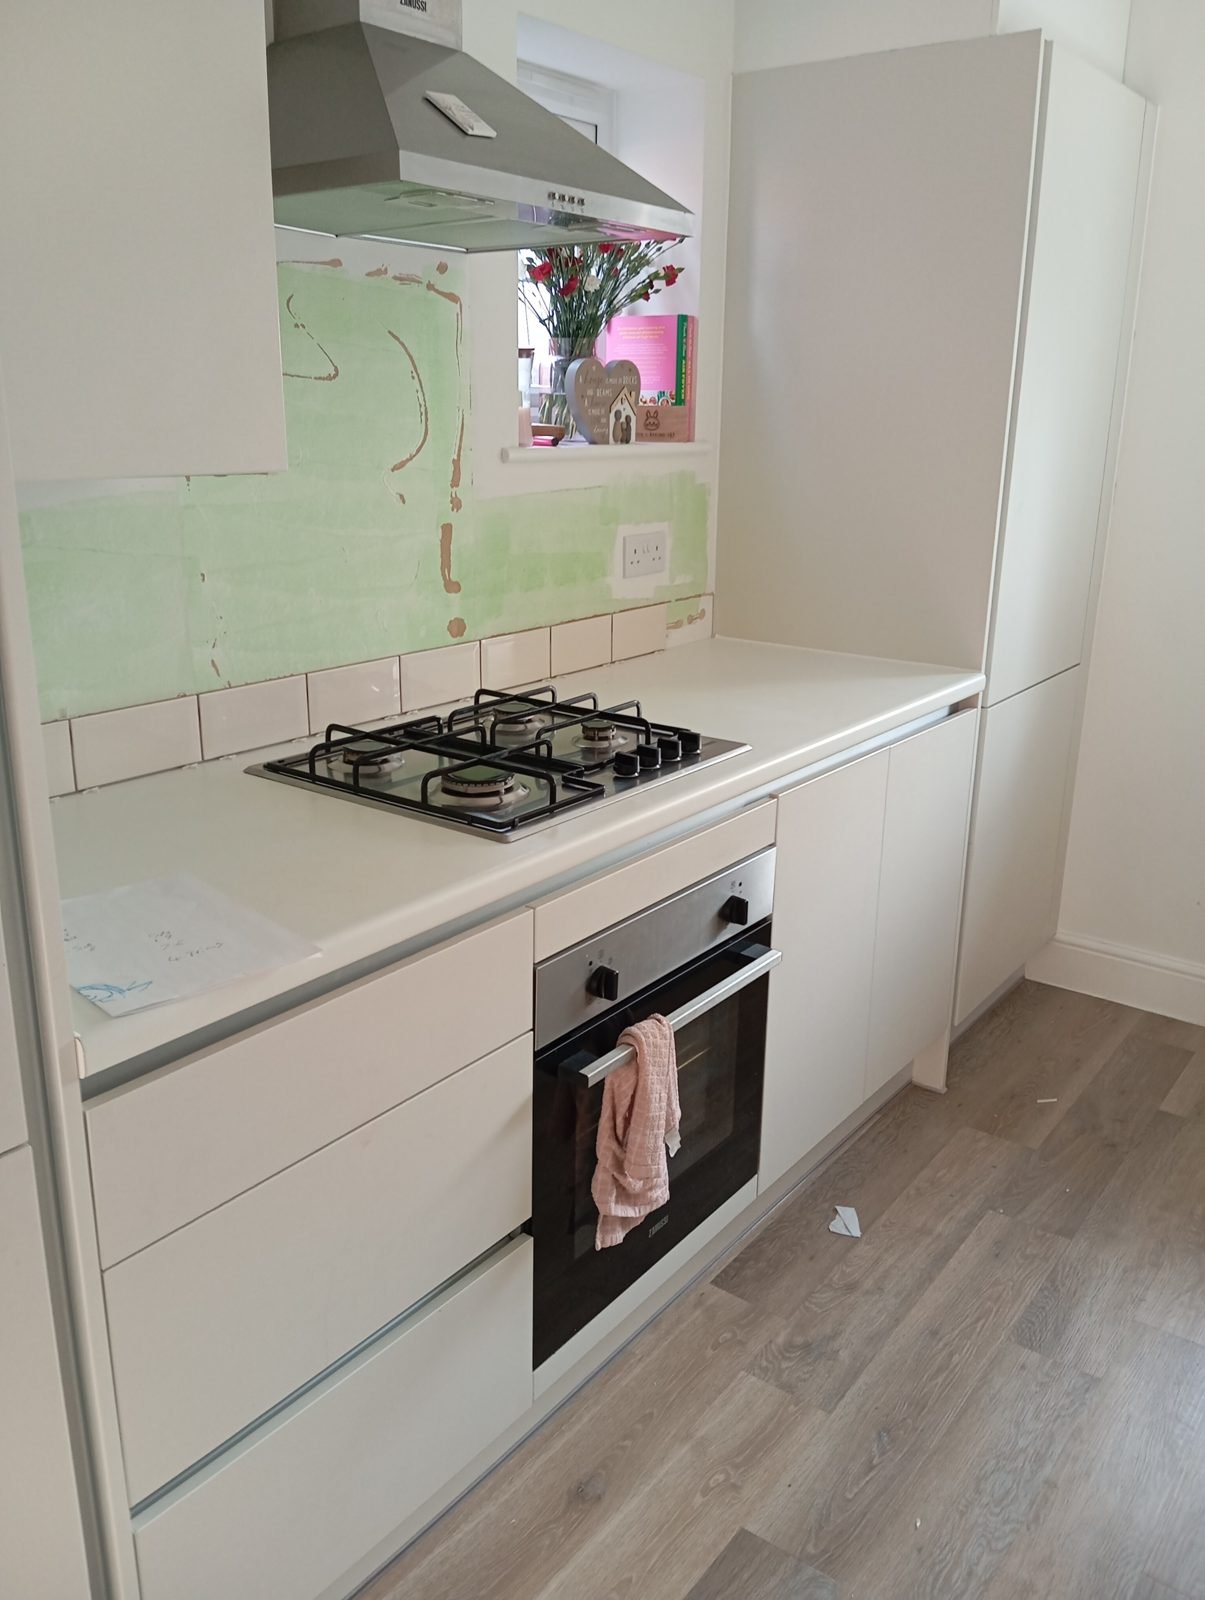
Setting out
With metro tiles, the setting out is the job. A brick-bond pattern shows up every wobble, so the first row has to be dead level and the joints have to stay consistent all the way along. Spacers stay in until the adhesive has gone off.
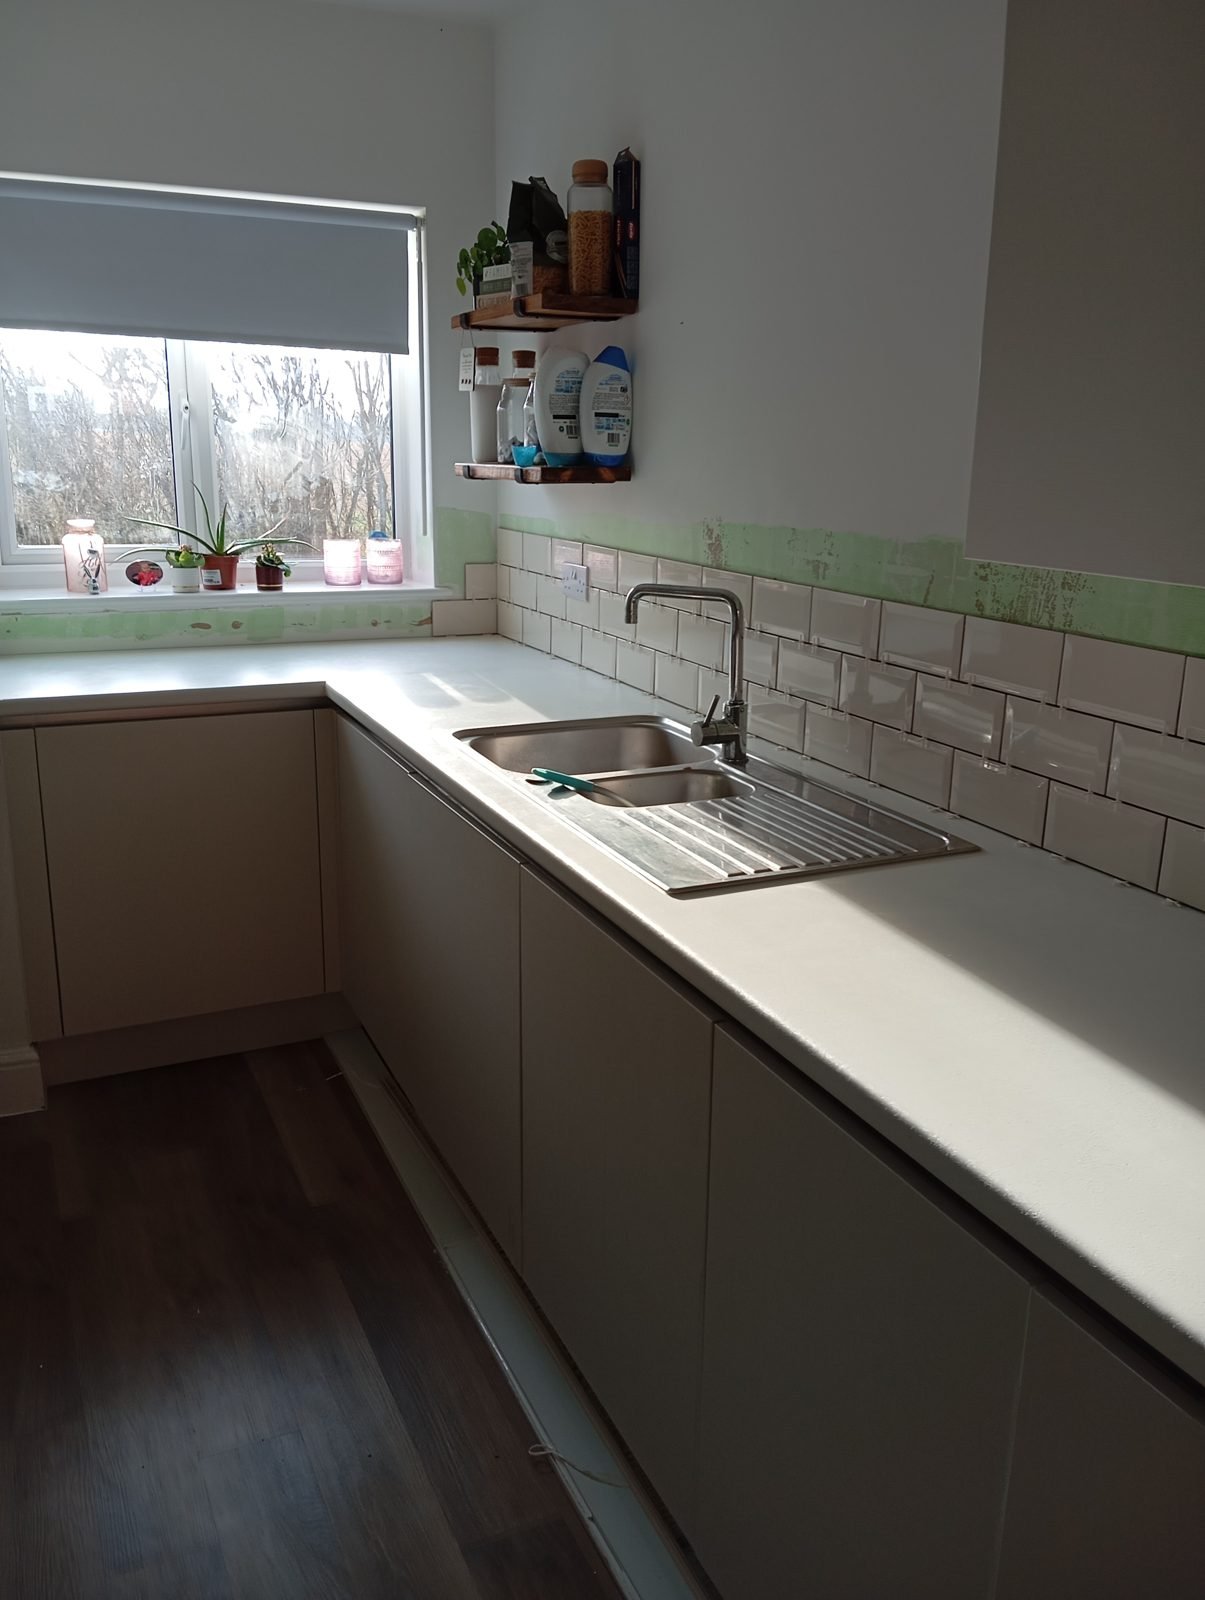
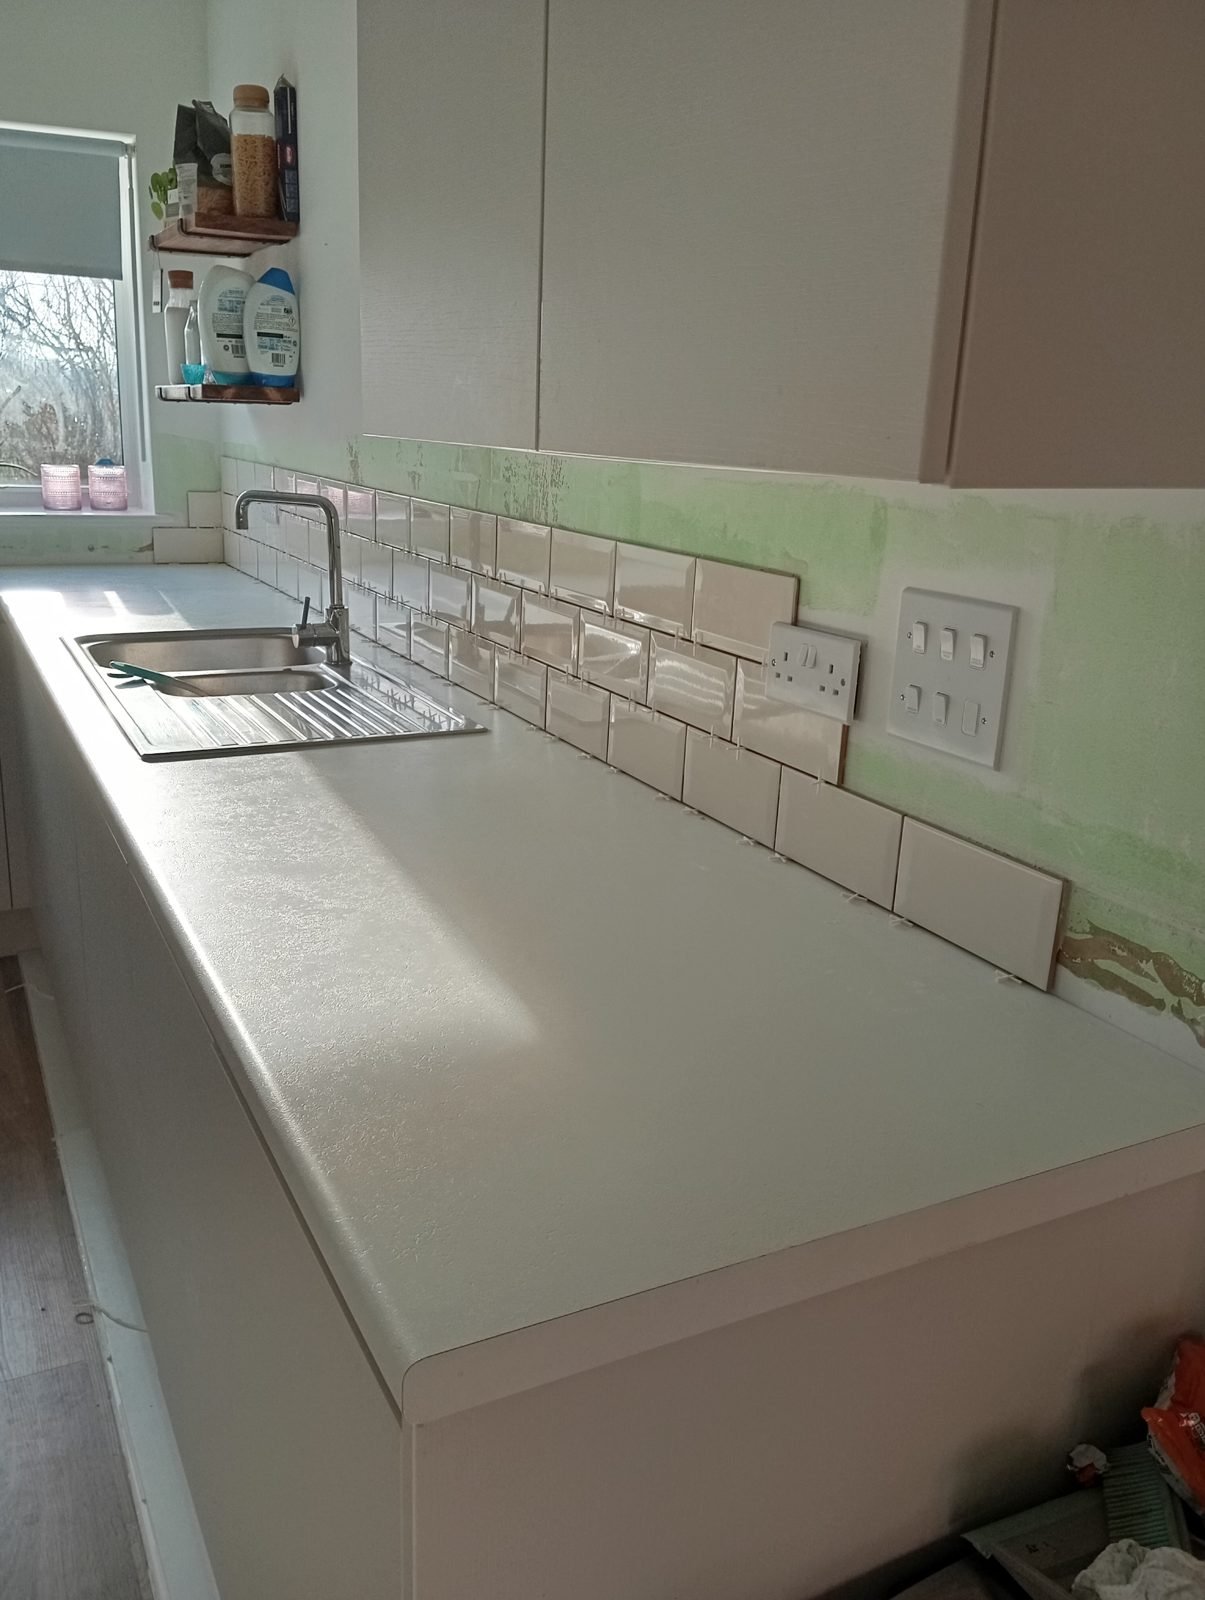
Cutting in
The fiddly part is everything that isn’t a flat wall: the window reveal and sill, the sockets and switch plates, and the space under the cooker hood. Clean cuts there are what make it look finished.
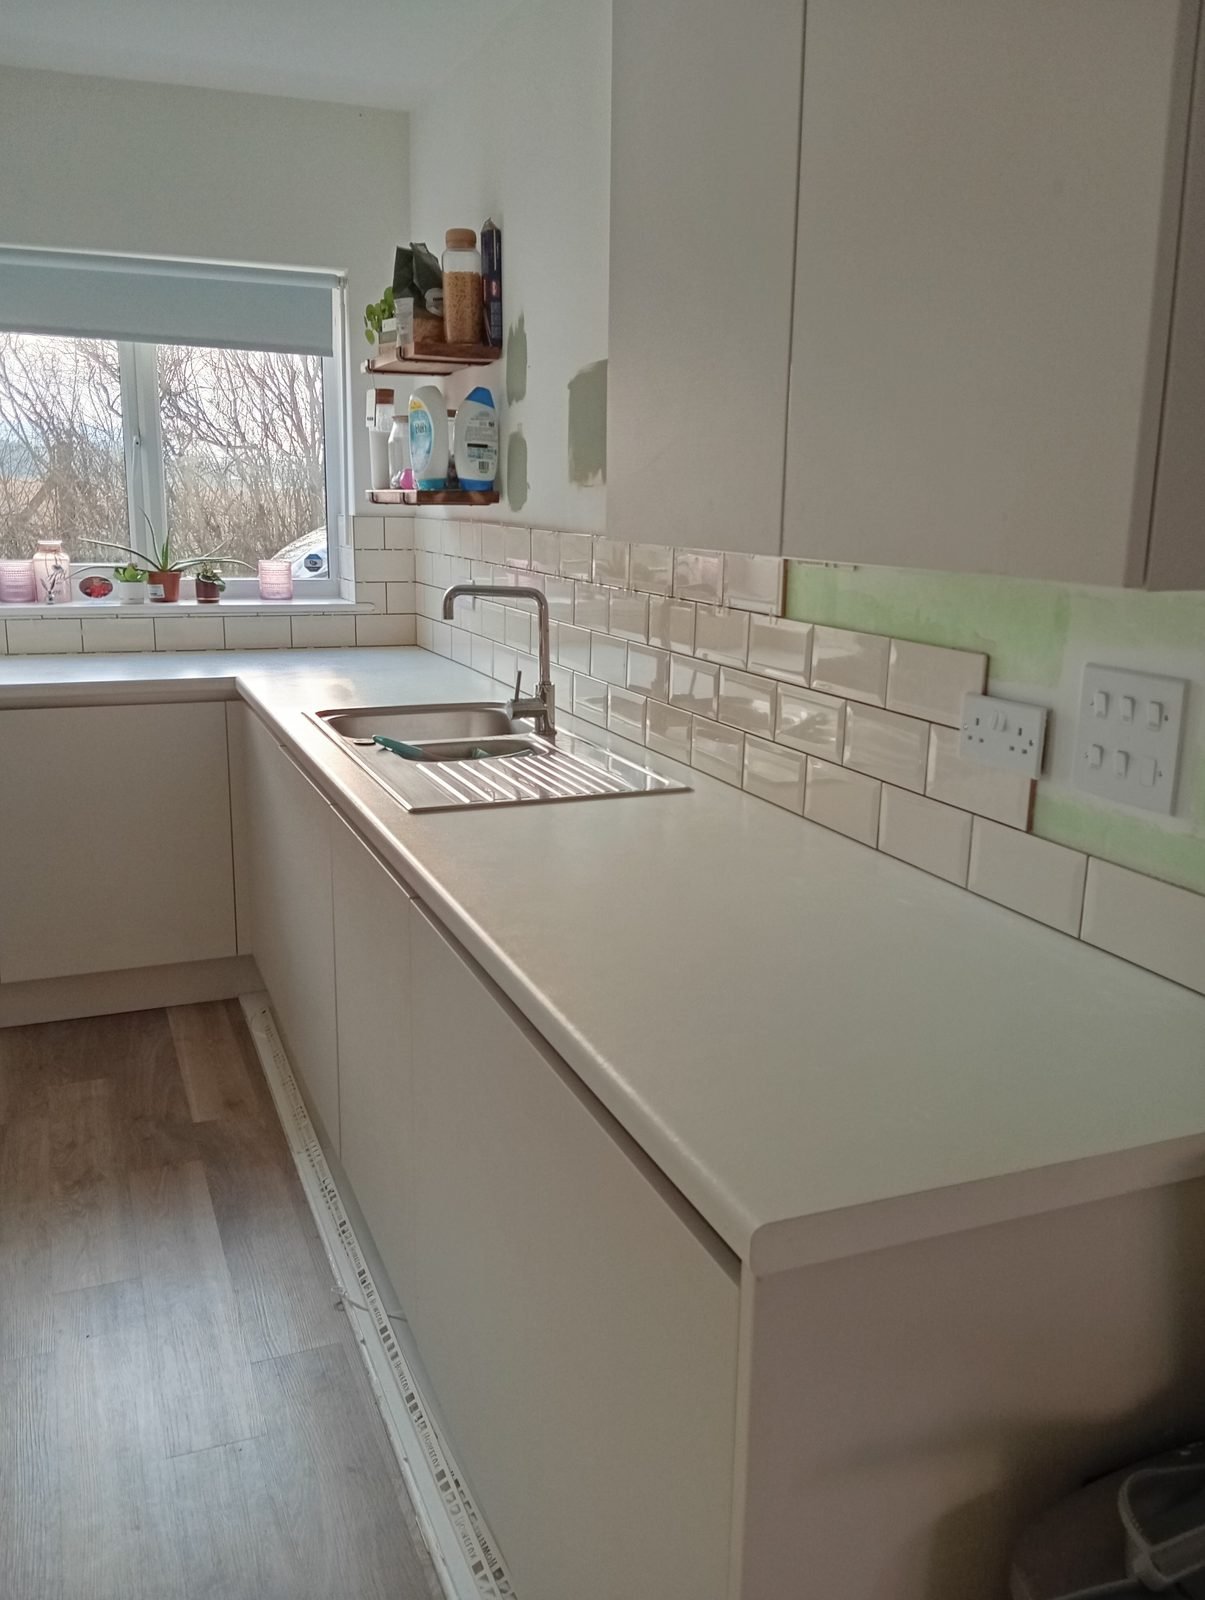
Grouted and finished
What it costs
I charge £40 an hour with no call-out fee. Tiling time depends on how much wall there is and how many cuts there are, so send me a photo and rough measurements and I’ll tell you what to expect.